
6. Diaphragm Replacement Procedure
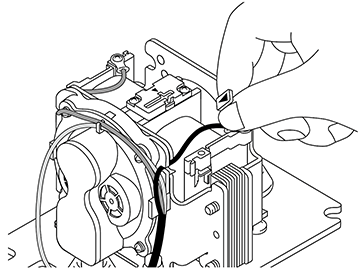
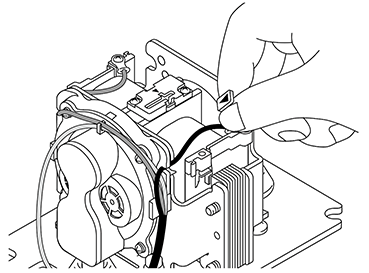
Cord wiring may differ from the illustration for some models.
-
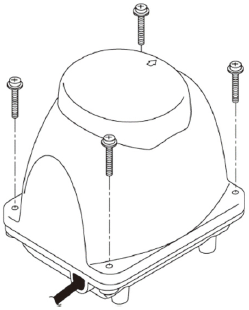
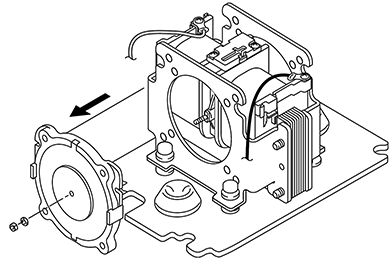
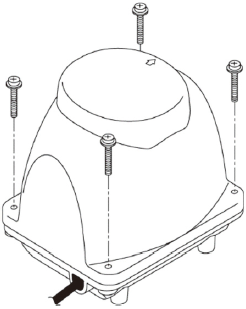
Take the cover bolts using an 8 mm (5/16’’) wrench.
-
Remove the auto-stop piece as instructed under 5. Auto-Stop Function.
-
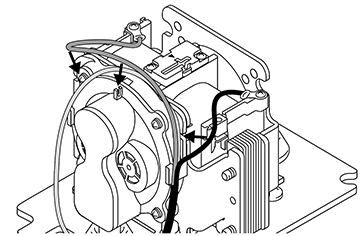
Remove the wires from the 3 hooks.
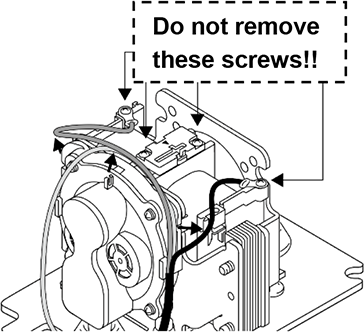
NOTE: Do not remove the screws.
-
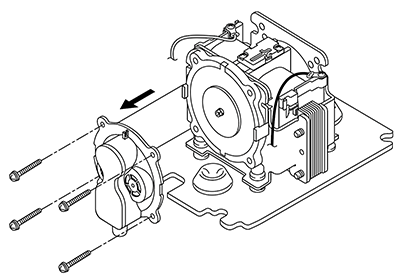
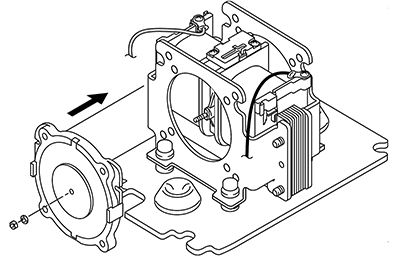
Remove the 4 screws and take the compression chamber off using a Phillips screwdriver.
-
Remove the nut and take the diaphragm off the motor body.
-
Install a new diaphragm using the new provided nut.
*Tightening torque: Approx. 1 Nm (approx. 0.75 ft-lb)
-
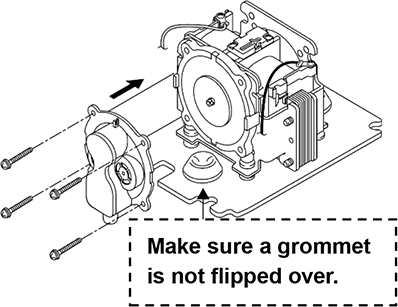
Insert the air outlet into the rubber grommet and reattach the compression chamber with the 4 screws.
-
Replace the wires in the 3 hooks.
-
Install the auto-stop piece as instructed in the first steps.
-
Tighten the cover bolts using an 8 mm (5/16’’) wrench.
WARNING
Unplug the power cord and be sure to let the air pump cool down before opening the cover.
-
Replace both sides of the diaphragm and compression chamber at the same time. If one diaphragm breaks, it generally indicates that the remaining diaphragm is weak and vulnerable to breaking soon.
-
Replace the diaphragm assembly kit every year.
-
Operate the blower to ensure operation is correct after replacing the diaphragms.
-
Do not lubricate any internal parts of the air pump.